
Dr. Seuss has a birthday in early March. I’ve actually been learning a lot about him lately as we gear up for Relay for Life season. He died of cancer and some of his phrases fit very well with cancer awareness/prevention.
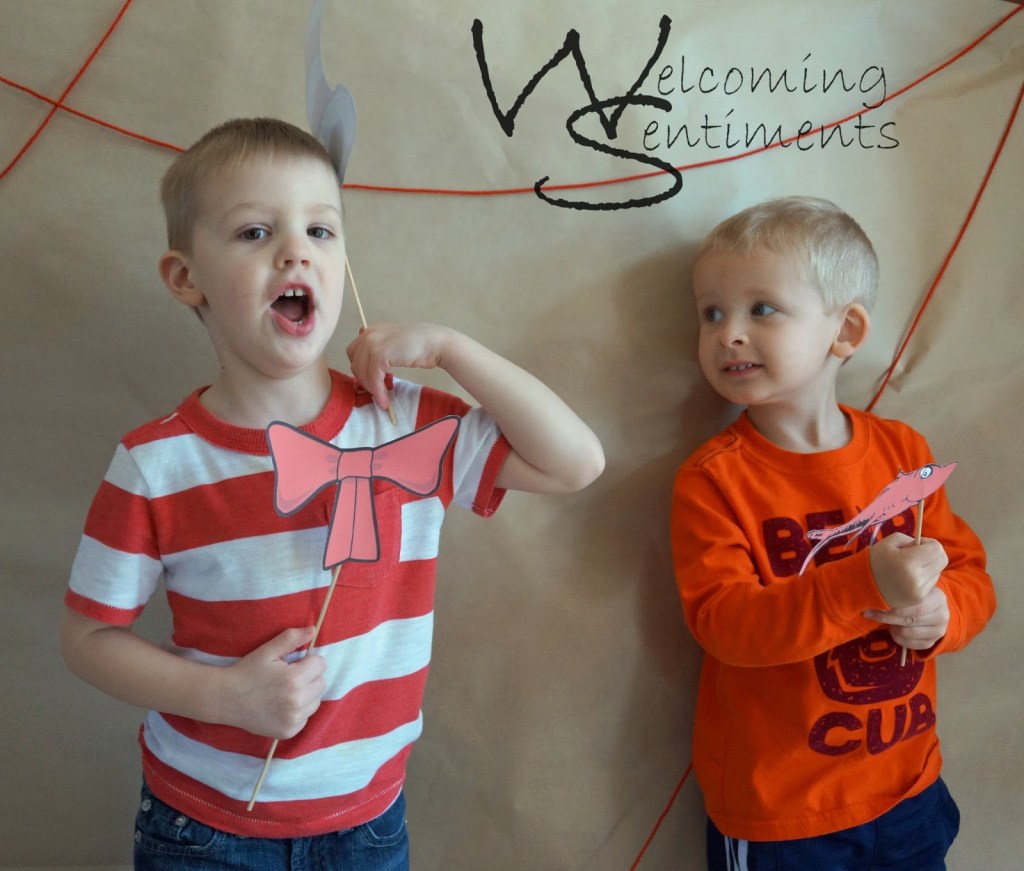
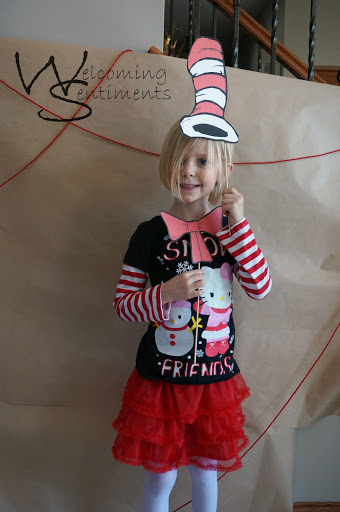
Having his birthday to celebrate was a fun way to make a regular play date a little more unique. I had a couple of small snacks, craft and photo booth. It’s not easy getting the 2 and 3 year olds in a ‘proper’ photo booth picture. I’m sure if you were watching us try and saw how many photos I deleted you’d be laughing.
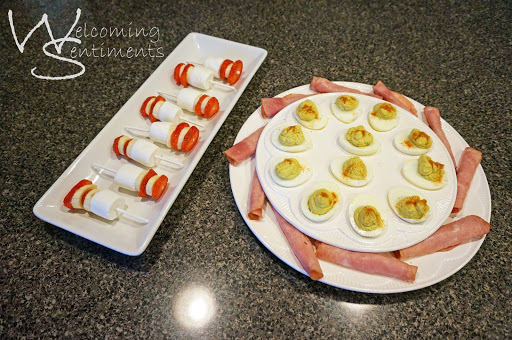
For the snacks I made Green Eggs and Ham and then little Cat in the Hat treats on a stick.
The Cat in the Hat treats are just strawberries, bananas and marshmallows layered on the stick. The Green Eggs and Ham I used my usual deviled egg recipe except I swapped out most of the mayo for avocado. The recipe is my grandma’s and I’m surprised there weren’t onions in it because she said they belonged in everything. Something happened to that gene in me because I can’t eat onions and everyone in my family loves them. I seriously gag and get nauseous.
Grandma H’s Deviled Eggs:
-1 dozen eggs
-2 Tbsp. Miracle Whip
-1 tsp. brown mustard
-Lawry’s salt and Pepper to taste
-Paprika
Boil and peel eggs. Cut in half and take out the yolks. Mix the Miracle Whip and brown mustard with the salt and pepper. Gradually add to the mashed egg yolks until the consistency is right. Fill the egg whites with yolk mixture and sprinkle with paprika.
My substitution was a whole avocado and just a dollop of mayo. I haven’t tried the DIY mayo yet but did find some in the store with not so many ‘bad’ ingredients so for now that’s what I use. Just add mayo/Miracle Whip to get the right consistency with the avocado and yolks. It didn’t turn out as green as I’d envisioned because an avocado ripe enough to mash isn’t very green, it’s more yellow but oh well, it was still good! Sometimes things turn out much better in my mind 😉


Leave a comment