
When you hear ‘refinishing’ furniture if you are like me you think strip, sand, re-stain and immediately say no way. I think I have DIY project ADD because about half way through I tend to think why on earth did I think I needed to do this. These thoughts are why my immediate reaction to the traditional terms of refinishing furniture is no way.
I’m sure you’ve heard of, seen or maybe even done a project using chalk paint. This is fantastic when you want to re-do something but in a less traditional sense. With chalk paint there’s no stripping, sanding or staining. That’s right, you heard me, none of that! Sounds too good to be true, right? WRONG!

I’ve had my Grandma H’s china in a box for probably 18 years. After my Grandpa passed and she moved into a condo everything was cleared from the house and I got the china. You know those ‘someday’ lists, well getting a cabinet to put it in was on one of those lists. Grandma H passed at age 95 a couple of years ago so a cabinet had actually jumped up in my priority list because I wanted it out of the box.
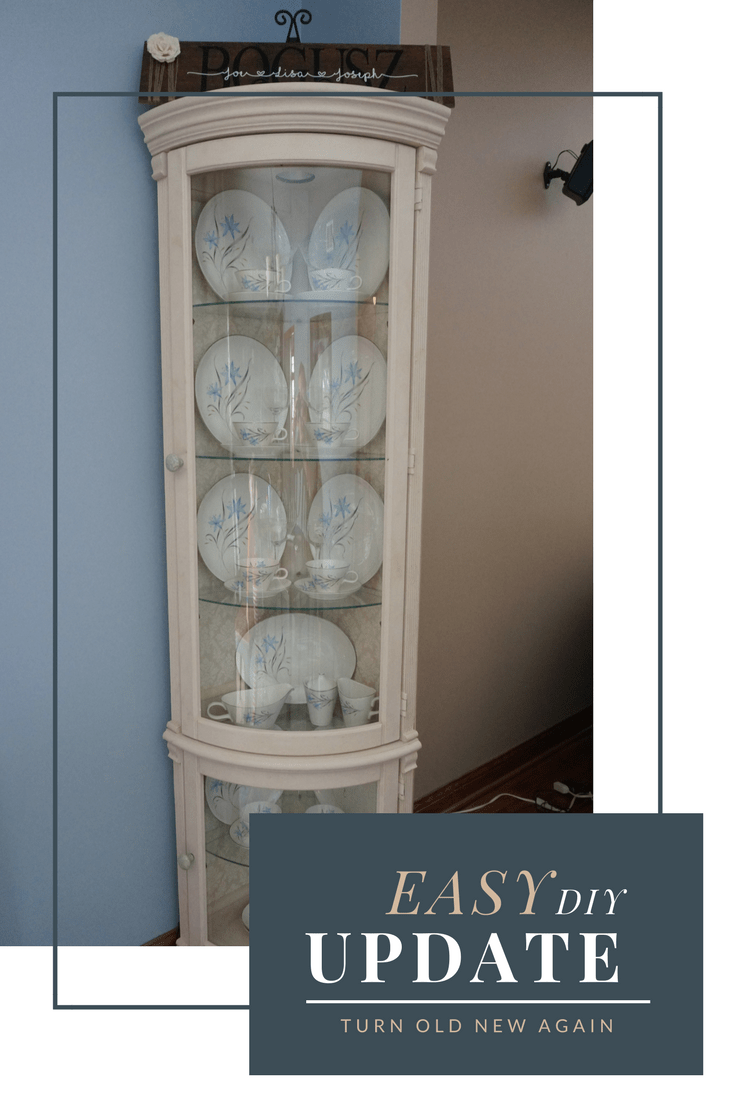
As it turns out one of my cousins from my other side of the family was looking to get rid of the china cabinet that was my Grandma S’s and asked family first if anyone wanted it. I didn’t hesitate to take it. How awesome to have something like this from both Grandmothers!
It needed a face lift. I was excited to try out the chalk paint. I went to my local Ace Hardware store and they carry Annie Sloan Chalk Paint and their customer service is great so I got lots of tips too. Of course Amazon has it too so you can always go there.
I also watched a bunch of YouTube videos, just search on Annie Sloan and you see all kinds of ideas, tips and inspiration. I spent too much time here making sure I knew exactly what to do. The nice thing about this though is there’s not much to know!
I did not plan on making a post about this so I don’t have any before or during pictures and I don’t even know the color I used as I can’t find the can. I do have the wax and I used Light Antique wax.
Easy and quick do not mean the same thing. Something of this size takes time no matter how easy something may be. I also only worked on it while JP was in school so I only had a couple of hours a day. In order to get all angles, you have to wait for parts to dry so you can flip it and get other angles. I literally painted everything, the hinges and all. I didn’t want to take anything apart or have to be so perfect. That’s the great thing about this paint is that you can do this!
I found a couple of new knobs at Hobby Lobby.
This was the ‘easy’ part. The rest are lessons learned for your next project or just to get a good laugh at my real life.
I also kind of felt like the mirror dated it but I know when you buy new china cabinet they have glass. I wanted it covered. I was looking for a vinyl or sticky wallpaper type of thing so I could just peel and stick to the glass. Although the one I found in my searches had this criteria, it really was just regular wallpaper so I had to use a spray craft adhesive for it. Details I didn’t check before ordering!
My husband chimed in and said he could add some corner round around the mirror so it looked more ‘finished’ with the wallpaper backing. Awesome! We finish the project, I get the china out of the box and all cleaned up. The cabinet is in the house and clean and guess what. The glass shelves don’t fit in with the addition of the corner round! You are kidding me right?
This is where we feel like big dorks for not planning this or putting the shelves in before to make sure it would work. Now what? The corner round was glued and nailed in. Our nephew does furniture repair so he looked at it and his best advice was to take a Dremel and notch out the corner round. His brother was over around the same time and said their step-dad had a ton of attachments. They forgot and we avoided. And this is where the cabinet sat for several months. It was in the kitchen, china just in piles with no shelves. It became a project we didn’t know what to do with. I think there was fear of ruining the cabinet. I finally nagged enough and said if we ruin it then we ruin it but we have to try something it can’t just sit here like this.
Finally the Dremel comes out, I had unplugged the battery the day prior and it’s now dead. Ok, not tonight. Plug battery back in. I had decided to paint the kitchen so guess what, I unplugged the battery so attempt 2, dead battery. We have no idea how old it is as neither of us know where it came from so at this point we realize it’s not holding a charge at all. Next stop is to buy a new Dremel. I was seriously thinking maybe it just wasn’t meant to be. We had a vacation planned and I said we have to finish this before we leave, I was tired of tools and stuff all over the kitchen as we just waited between failed attempts. Thanks to a new tool and awesome husband the shelves were finally in! If you ever see it in person though you can’t inspect it!
The cabinet gets finished, we go on vacation and while we were on vacation my Grandma S passed. She was 99. I really just thought I was tired of it sitting in the house unfinished but maybe there was another reason I was crazy about getting it finished. The timing sure makes you wonder!


Leave a comment